Thursday, May 5, 2011

Mother's Day Gift Idea #1 - Bath Salts/Potpourri Sachet Tutorial

This Saturday I am going out with several other young mothers for an early Mother's Day luncheon. I wanted to make some sort of appreciation gift for each mother and came up with this...


It is a handmade sachet filled with bath salts (after all, we could all use a nice, relaxing, hot bath every once in awhile).

Note: You could use potpourri rather than bath salts if you wish for an equally nice gift.

I will attach a little card to each sachet with this picture on the front:



 ...a short personal note of appreciation and this quote on the inside:  
"A mother is the most important person on earth. She cannot claim the honor of having built Notre Dame Cathedral. She need not. She has built something more magnificent than any Cathedral -- a dwelling for an immortal soul, the tiny perfection of her baby's body." -- Joseph Cardinal Mindszenty 

...and directions for use on the back.


The inspiration for the little pouch came from this Brighton Jewelery pouch that I had laying around...


In order to make one of these little pouches,
you will need:

4 & 3/4 in. x 14 & 1/4 in. Piece of Fabric
2 x 20 in. Pieces of Ribbon
Thread (matching)
Needle/Sewing Machine
Safety Pin
Strait Pins
Scissors
Note: 1/2 yd. of fabric makes 10-11 pouches


Step#1
Cut the fabric and  ribbons to the correct size/length.

Note: I made 11 pouches so I cut all of my fabric and ribbons right away.


Step #2
Measure 2.5 in. down the length of the fabric on the top and the bottom (i.e. down from the top and up from the bottom at all four corners), mark with a pencil, and snip 1/4 inch in.


Step #3
Fold the side of fabric over, then down, and pin.


Fold it down 1/4 inch past the slit.


Step #4
Using a small stitch (I use "2" on my machine) sew over the flap using a 1/2 inch seam allowance.


Step#5
Sew over the flap again using a 1 inch seam allowance (or 1/2 inch in from the last line of stitching).


Step #6 
Sew both sides of the pouch using a 1/4 inch seam allowance and turn the pouch right-side out.


Step #7
Take a piece of ribbon, fold it back an inch or so, and put a safety pin through it. Now, slide it through the hole on one side of the fabric then turn it around and slide it through the hole on the other side of the fabric.


Step #8
Using the second strand of ribbon, repeat Step 7 from the opposite end.


FYI...


Since you're all dying to know...my nail color is "cute as a button" by essie ; )


Step #9
Measure 1/2-1 cup bath salt into a baggie/individual baggies.


Don't say a word! I am well aware that this looks highly illegal...but it is bath salt...I promise.


Step #10
Place the baggie(s) into the pouch(s), pull ribbons, and tie them in a bow!


So, would you like to know how much this project cost?

The fabric was $1.16, the ribbon was 45 cents/spool, and I already had the bath salts on hand (bath salts vary in cost...some are very inexpensive while others cost $$$) . The entire cost came to $2.06 + tax...which is approximately 20 cents per sachet!

Have a lovely Mother's Day!!!

Wednesday, May 4, 2011

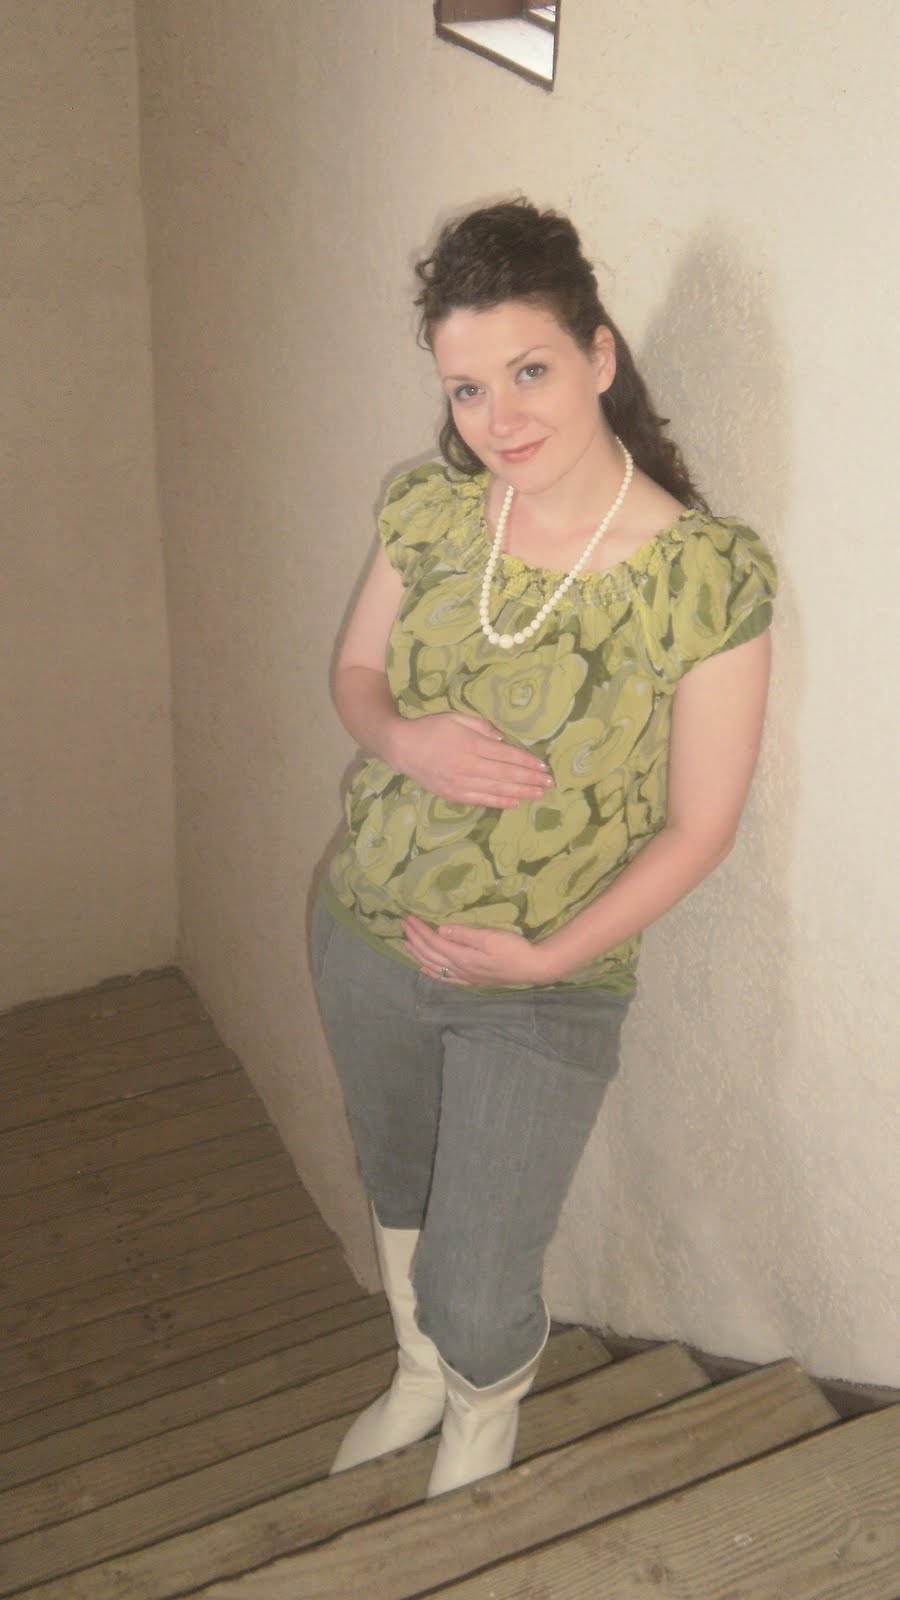
20.5 Weeks...


To my dear family and friends...by your request...

pictures!


Note: These were taken 2 weeks ago (by my handsome Mister). I'll post current pics soon...I promise.


Tuesday, May 3, 2011

Earring Tutorial - Turquoise Beads

This past weekend I made a new pair of turquoise earrings from a necklace that I made several years ago...and NEVER actually wore.


 Would you like to learn how to make a pair? Read on!


You Will Need

Beads (you choose the color)
Beading Pliers
Earring Hooks
Beading Wire
Crimp Beads
Metal Loops (IDK what these are actually called but you'll see what I mean)

Here is the necklace...


I wanted to reuse all of those beautiful beads so I just snipped it with a pair of these...

Beading Pliers
...and then I started my project.

Step #1
Straiten/flatten the loop on your earring hook so that you can remove the existing bead(s) and add one of your "new" beads.


Step #2
Using the flat part of your pliers, bend the wire backwards and then, using the round part of your pliers, recreate a loop at the base of the earring hook.


Step #3
Take the metal loop and link it to the earring loop (you will have to open it slightly and then clamp it back together so that there is no space/gap. If you leave a space/gap then your link will easily break causing your earrings to fall apart).

Metal Loop


Step #4
String colorful beads of your choice onto the beading wire (this may look thick but it actually very thin and very flexible and easy to work with). I used 5 beads for the inner loop and 9 beads for the outer loop (depending on the size of beads that you are using you may want to use more or less).
Note: You can find beading wire at most craft stores and sometimes at Wal-Mart.


Step #5
Take your crimp bead and string all (4) of the wire ends through it.
Note: You can find crimp beads at most craft stores and sometimes at Wal-Mart.

Crimp Bead


Step #6
Now string all (4) of the wire ends through the metal loop, bend them around the loop and back through the crimp bead.
Tip: When stringing them through the crimp bead for the second time, it helps to push each wire through separately rather than all at once...it's a bit of a tight fit.


Step #7
Using the flat part of your pliers, squeeze the crimp bead flat over all the wires.


Step #8
Cut off all of the loose ends as close to the crimp bead as possible.
Tip: I have found that you can get a closer cut with a sharp pair of scissors than the wire cutter on the pliers.


Taa Daa!!!


 I just love the way they turned out and will be wearing them all Spring and Summer! I am planning to use the leftover beads to make a matching, double strand bracelet. 


Don't you think these would make a fabulous gift?


Happy jewelery making!


Monday, May 2, 2011

What We Were Up To This Weekend...

This weekend was incredibly productive, relaxing, crafty, and blessed. 

On Saturday we cleaned and packed and NAPPED! (Rest is such a beautiful, needed thing). After our long siesta, I made a large dish of chicken enchiladas for dinner (YUM!) and then my  dear husband had to go to work (until 12a). SO, after the kids were in bed, I had a movie night with a couple girlfriends. We laughed, cried, and ate brownies a-la-mode (how exactly does one spell this word???). Such. a. great. time.

Sunday was such a HUGE day in the Church. At our place we primarily celebrated the Feast of Divine Mercy and the beatification of Blessed John Paul II (!), but it was also the Feast of St. Joseph the Worker and the begining of the month of Mary! What a DAY!

We started out with a breakfast of Divine Mercy Rolls (courtesy of our local bakery) and eggs, went to mass, took naps, prayed the Mercy Chaplet, SKYPED with the family, and went to bed.

Our family also got to spend LOTS of time with a dear seminarian friend (Lowell) who was in town for the week.

AND, I worked on lots and LOTS of little, crafty, projects all. weekend. long! : )

I have decided to post a DIY or a tutorial each day this week so that you can all craft along with me!


Here's a sneak preview of my first little project...


Stay tuned for the tutorial later on tonight!


So, what were you up to this weekend?

Sunday, May 1, 2011

Blessed Pope John Paul II

 Our hearts are in Rome today...


My Mr and I had the opportunity to see him there in 2003...on my birthday...what a GIFT!
We were THIS CLOSE!

"From Mary we learn to surrender to God's will in all things. From Mary we learn to trust even when all hope seems gone. From Mary we learn to love Christ her son and the son of God."
John Paul II

Totus Tuus

It is neat to think that they're together in heaven...praying for us all 


Two saints of our time!
 This is a special and exciting day for our "2" (JPII is his namesake and he was born on the anniversary of his death).


I just LOVE this man!


 Blessed John Paul II, Pray for us!