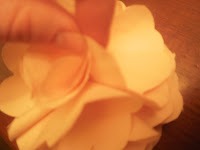
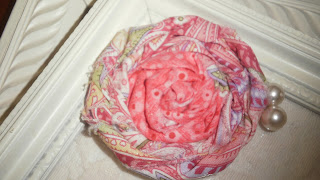
Over the past several months I have been seeing fabric flowers popping up all over the place! I've seen them on pins, headbands, barrettes, dresses, purses, necklaces, and on so many other things. I love them! And the other day as I was coveting admiring one, I thought to myself, "I bet I could figure out how to make one of those". So here is my attempt at making a fabric flower...
I think it turned out quite well.
Would you like to learn how to make one? Yes? Read on!
You Will Need:
Thin Piece of Cardboard
Pencil
2 Round Objects (you choose the sizes)
Scissors
Fabric
Hot Glue/Tacky Glue/Thread and Needle (you choose!)
Step 1.
Make a flower pattern using a thin piece of cardboard (I just used a snack box) and 2 round objects (you'll need one larger object (I used a bowl), and one smaller object (I used a Quarter)). You can use just about anything for these, but do keep in mind that your flower's circumference will turn out just a bit larger than the "large" object that you choose.
 |
| The large object will create the "shape" for your pattern. |
 | ||||
| The small object will create the outline for the flower petals. |
 | |
| This is your finished flower pattern. |
Step 2.
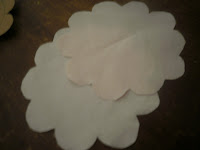
Use your pattern to outline ten (10) separate flower shapes onto your fabric and cut out each shape.
Step 3.
Create your flower's "base" by cutting out a medium sized circle from you fabric.
 | |
| Sorry! I have no idea what happened to my lighting from here on out! |
Step 4.
One at a time, fold each flower shape in half and then in half again. Create your flower's first layer of petals by gluing (or sewing) five (5) separate (folded) shapes to the circular "base".
 | ||
| Glue the 2nd "half" of each flower shape together as you go. |
Step 5.
Create your flower's second layer of petals by gluing (sewing) four (4) folded flower shapes to the center of the first layer of petals.
 |
| Can you see how full this flower is beginning to look?! |
Step 6.
With your last flower shape fold the flower in half and then in thirds (glue) and then in half again (glue) to create a little rosette for the flower's center. Glue the rosette to the center of your flower. Step 7.
"Fluff" your flower by gluing the petals up/to each other here and there.Step 8.
Voila! Step back and admire those pretty petals.  |
| What a fabulous flower! |
Later this week I'll show you how to make more Spring inspired fabric flowers.
Next up I'll introduce a technique that I call "Ring Around the Rosie". This is a no sew flower that is so simple and it turns out lovely every single time! Stay tuned!


Love it! Hugs & Kisses from WI!
ReplyDelete