Thursday, March 31, 2011

The "D" Word

For the last several weeks our "(very) nearly two" has been using the "D word" ALL of the time. Every day, several times a day, he'd shout "you bammit!".

As you can probably imagine, this concerned me. And I was completely puzzled as to where he'd learned it. I mean, my Mr and I don't very rarely swear (blush), their little friends don't swear, and they don't watch "that kind" of television...hmmm...???


Well, yesterday, it came to me all at once, from a most unexpected source. As we were watching Peter Rabbit, Mr McG started running after Peter and shouting "(Come back here) you varmint!" and sure enough my little man echoed "you bammit!".


Aha! My little guy was saying "you varmint"!


No suds for this little boy...thanks to Mr. McG, it seems we won't have to resort to the soap-in-the-mouth technique after all. Ha!


Wednesday, March 30, 2011

Something Lovely...

I found this display over at  MADE and think it is just lovely...and magical. This is what we'll be doing today...


It think these would make beautiful Easter decorations too! Don't you?...We just couldn't wait.


Happy Spring!

Tuesday, March 29, 2011

Spring Inspired Fabric Flower Tutorial #2

I call this flower technique the "ring around the rosie". It is so easy and fast and I just love the way the flowers turn out. I think these would look just lovely on a barrette/headband or pinned to a dress/shirt/cardigan.

Here are the first three flowers that I made of this variety. I had a lot of fun experimenting with different fabrics and textures.

100% cotton


black satin and lace with bird pin ornament


tan silk with glass pearl ornaments


If you missed #1 and would like to see it click here


On to number two!


You Will Need:

Hot Glue Gun
2-4 12in strips of fabric
Felt


Step 1
Choose your fabric. You can choose one single color or several different colors. You can also choose one single texture (such as cotton), or a variety of textures (satin, lace, linen, silk, polyester, etc.)

Step 2
Snip the ends of the fabric and tear it into strips.


 Note: some fabrics will not tear so you'll just have to experiment and cut strips for those that don't.

This creates a nice tattered edge to you fabric and adds detail.


You will only need a couple of 12 in strips to make one flower.

Step 3
Create a felt base for you flower (Tip: I try to ere on the side of making this too big rather than too small because you can always cut off the excess but you can't add to the base once you've started)

Step 4
Tie a knot in the end of your first strip. (Note: if you are going to add a pin or beads to the center than skip this step)


Step 5
Hot glue the knot or the end of your fabric to the center of the felt base.

Step 6
"Ring Around the Rosie" anyone??? Twist the fabric and glue it to the base while winding it round and round the knot until you reach the end of the first strip.


Step 7
Add the next strip and continue to twist, glue, and wind until you reach the end.


Step 8
Tuck the end between the base and the flower and glue.


Just look at that perfect rosie posie!

Have a great day!


Monday, March 28, 2011

Spring Inspired Fabric Flower Tutorial #1

Over the past several months I have been seeing fabric flowers popping up all over the place! I've seen them on pins, headbands, barrettes, dresses, purses, necklaces, and on so many other things. I love them! And the other day as I was coveting admiring one, I thought to myself, "I bet I could figure out how to make one of those". So here is my attempt at making a fabric flower...


I think it turned out quite well.

Would you like to learn how to make one? Yes? Read on!


You Will Need:

Thin Piece of Cardboard
Pencil
2 Round Objects (you choose the sizes) 
Scissors
Fabric
Hot Glue/Tacky Glue/Thread and Needle (you choose!)


Step 1. 
Make a flower pattern using a thin piece of cardboard (I just used a snack box) and 2 round objects (you'll need one larger object (I used a bowl), and one smaller object (I used a Quarter)). You can use just about anything for these, but do keep in mind that your flower's circumference will turn out just a bit larger than the "large" object that you choose.

 
The large object will create the "shape" for your pattern.
The small object will create the outline for the flower petals.


This is your finished flower pattern.

Step 2.
Use your pattern to outline ten (10) separate flower shapes onto your fabric and cut out each shape.


Step 3.
Create your flower's "base" by cutting out a medium sized circle from you fabric.

Sorry! I have no idea what happened to my lighting from here on out!

Step 4. 
One at a time, fold each flower shape in half and then in half again. Create your flower's first layer of petals by gluing (or sewing) five (5) separate (folded) shapes to the circular "base". 


Glue the 2nd "half" of each flower shape together as you go.


Step 5. 
Create your flower's second layer of petals by gluing (sewing) four (4) folded flower shapes to the center of the first layer of petals.


Can you see how full this flower is beginning to look?!

Step 6.
With your last flower shape fold the flower in half and then in thirds (glue) and then in half again (glue) to create a little rosette for the flower's center. Glue the rosette to the center of your flower.


 Step 7.
"Fluff" your flower by gluing the petals up/to each other here and there.


Step 8.
Voila! Step back and admire those pretty petals.


What a fabulous flower!


Later this week I'll show you how to make more Spring inspired fabric flowers.


Next up I'll introduce a technique that I call "Ring Around the Rosie". This is a no sew flower that is so simple and it turns out lovely every single time! Stay tuned!

Friday, March 25, 2011

Happy Feast of the Annunciation!

"26 In the sixth month the angel Gabriel was sent from God to a city of Galilee named Nazareth, 27 to a virgin betrothed to a man whose name was Joseph, of the house of David; and the virgin's name was Mary. 28 And he came to her and said, "Hail, O favored one, the Lord is with you!" 


29 But she was greatly troubled at the saying, and considered in her mind what sort of greeting this might be. 30 And the angel said to her, "Do not be afraid, Mary, for you have found favor with God. 31 And behold, you will conceive in your womb and bear a son, and you shall call his name Jesus. 32 He will be great, and will be called the Son of the Most High; and the Lord God will give to him the throne of his father David, 33 and he will reign over the house of Jacob for ever; and of his kingdom there will be no end." 34 And Mary said to the angel, "How shall this be, since I have no husband?" 35 And the angel said to her, "The Holy Spirit will come upon you, and the power of the Most High will overshadow you; therefore the child to be born will be called holy, the Son of God. 36 And behold, your kinswoman Elizabeth in her old age has also conceived a son; and this is the sixth month with her who was called barren. 37 For with God nothing will be impossible." 38 And Mary said, "Behold, I am the handmaid of the Lord; let it be to me according to your word." And the angel departed from her".
 
- The Gospel according to Saint Luke, Chapter 1


Have a Blessed and Happy Feast Day!

No-Sew Baby Blanket Tutorial

"Before I formed you in the womb I knew you, and before you were born I consecrated you; I appointed you a prophet to the nations."  
                                                                                                         Jeremiah 1:5


A couple of days ago, I got an invitation to a baby shower. With the invitation came an announcement card saying that my friend's first little one will be a boy(!).


To me, it is always such a blessing to celebrate the gift of a new little life. It brings back memories of when my Mr and I first discovered we had conceived each of our own beloved little ones. It also reminds me of how very precious each tiny little human being is to the Father in Heaven, who created him. It makes me wonder about the Divine plan imprinted on each one of our hearts and about the plan for this little child's life...such a gift!


Speaking of gifts, I love to give them. And whenever it is possible, I love to make them. 

This is one of my very favorite gifts to make for new babies (especially if they're the first little one in the family). Besides the fact that it is a fast and simple project, it is also very inexpensive to make.


How to Make a No-Sew Fleece Baby Blanket
You Will Need:
Sharp Scissors
Ruler
30in x 36in piece of fleece x 2


#1. Select and purchase 2 complimentary colors/patterns of fleece. You will need one yard of each color/pattern. 

Note: Because the standard width of fleece is 60 in, when you unfold your pieces of fleece they will be long and rectangular. This will be enough fleece for 2 baby blankets.

#2. Line up the edges of the fleece exactly. Cut off any excess on each side.


#3. Cut the rectangle in half  (through both layers of fleece). 
 Note: Each half should look almost like a square, not like a really long and thin rectangle. Kapeesh?


#4. Measure and cut 3in. "up" and 3in. "in" at each corner


#5. Cut 3in "up" (through both layers of fleece) every 1.5 inches, creating strips.


#6. Fold each strip up and cut a very small slit in the center of each strip (I make mine about 1cm).


#7. Grab the ends (both layers) of the strip and guide them through the slit.


#8. Pull the ends all the way through.


#9. Repeat steps 7 and 8 all the way across the first side of the blanket. Then repeat steps 5-9 on each of the unfinished sides of the blanket.
Doesn't that make a nice edge?


 #10. Step back and marvel...you have just completed a hand made baby gift!


To sew, or not to sew,...that is the question...


Now, you can be finished at this point if you like, but if you'd like to quilt a little pattern into the center of the blanket then read on.


 You Will Need:
Paper (parchment, wax, brown, wrapping...whatever you've got on hand)
Thread
Pins
Needle


#1. Choose the shape/pattern that you'd like to quilt on the front of the blanket. (I chose this little sailboat).

#2. Create a pattern, pin it to the blanket, and draw around it with a pencil/wipe-off marker (I just freehand the pattern onto the paper. You can buy a wipe-off marker at any sewing shop. They are used specifically for quilting)


#3. Choose a spool of thread that compliments the colors in your blanket.


#4. Use a quilting/running stitch to sew all around the outline of your pattern.
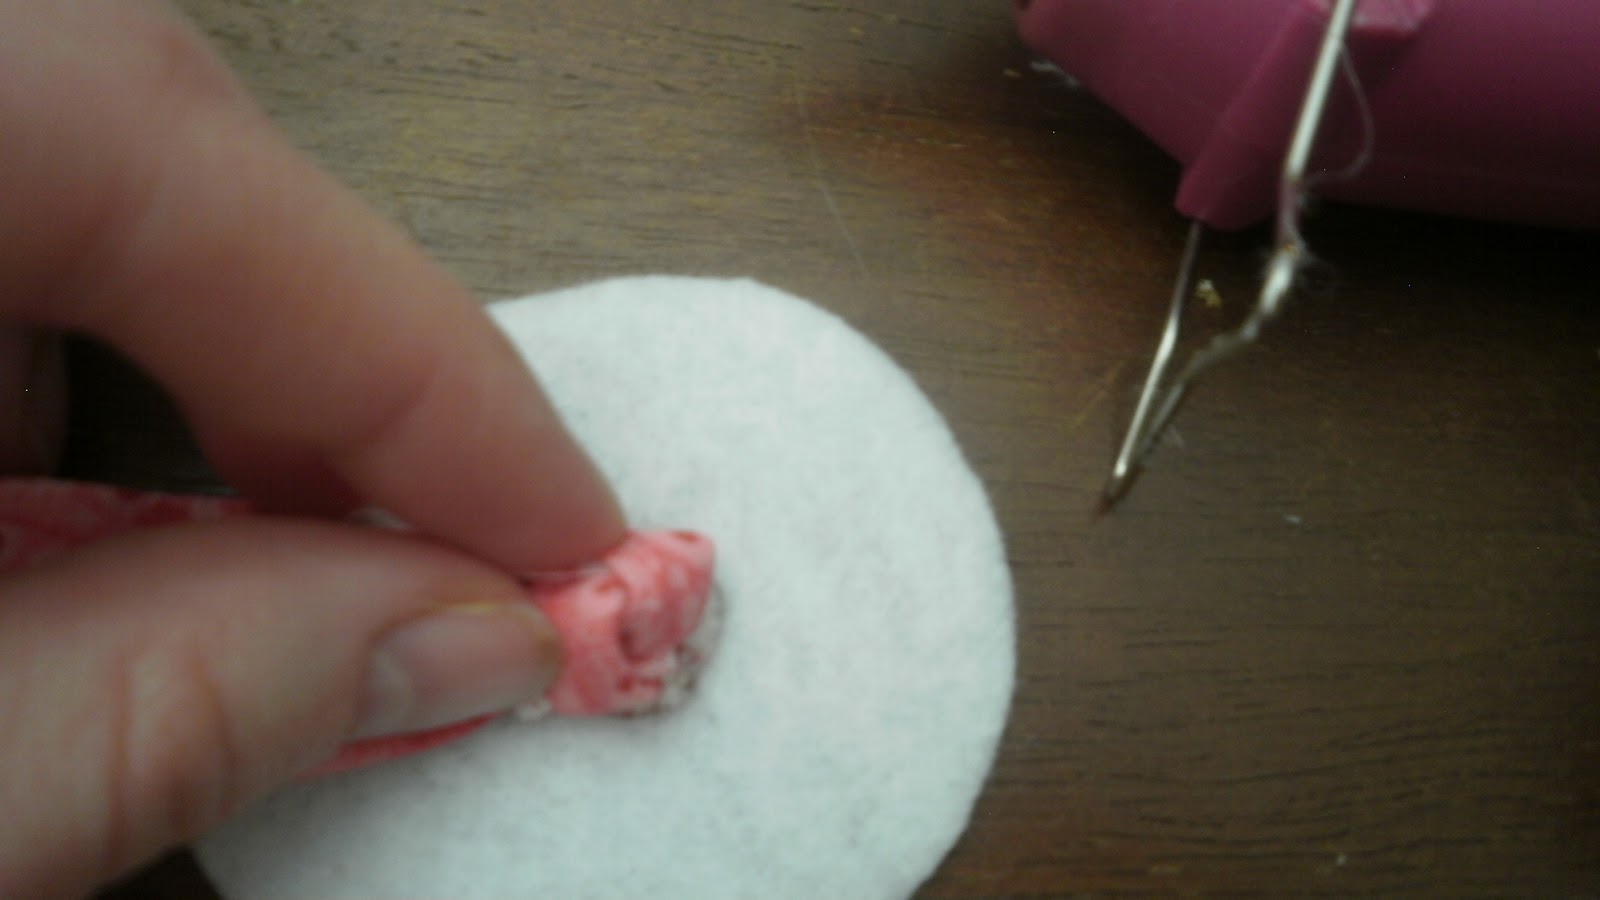
Sorry! I just couldn't get the camera to focus for this picture!
#5. Ta Da! A quilted sailboat!
It's difficult to see but there's a big quilted boat on this blanket!


Other gift Ideas:

When I don't have enough time to make a gift, and since a am a great lover of reading, I love to give a couple of these board books: